


Do you want to launch a beautiful WordPress webshop online in the shortest time possible? Then my.host offers the solution. Through the my.host AI website builder, you can have a stunning setup for your webshop online within minutes.
In this article, I will show you exactly how this works, and what the my.host AI tool came up with for me.
How to create a WooCommerce webshop with AI
First, go to the AI website builder page of my.host and click on the button Start directly with AI. Now, enter your email (payment details are not required; you can try the builder for free for 14 days).
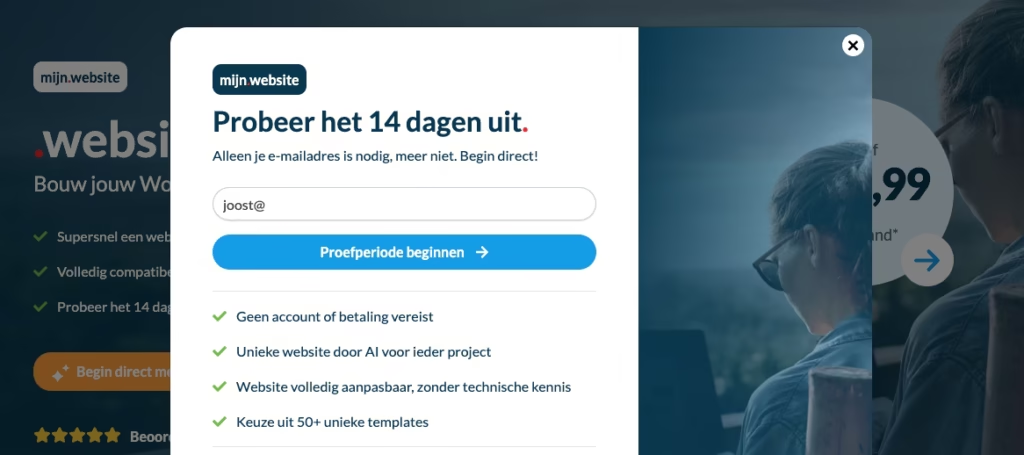
Then start the trial period.
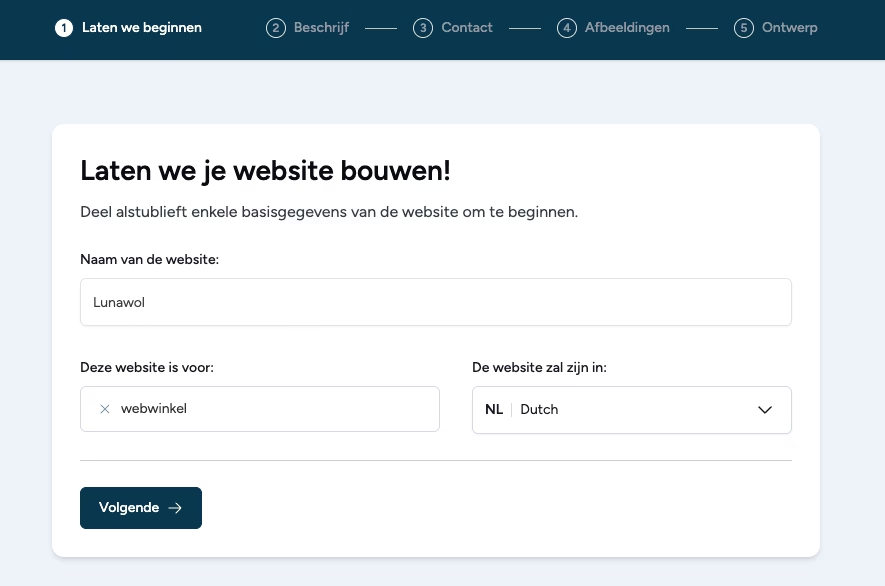
Now we can start building the webshop. Choose a name, indicate that the site is for a webshop, and choose the desired language.
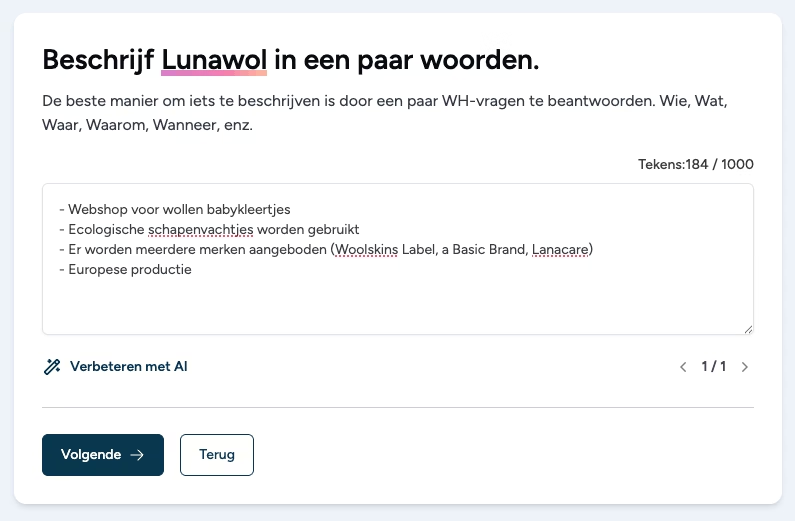
Then you may describe your webshop. I chose to do this using bullet points:
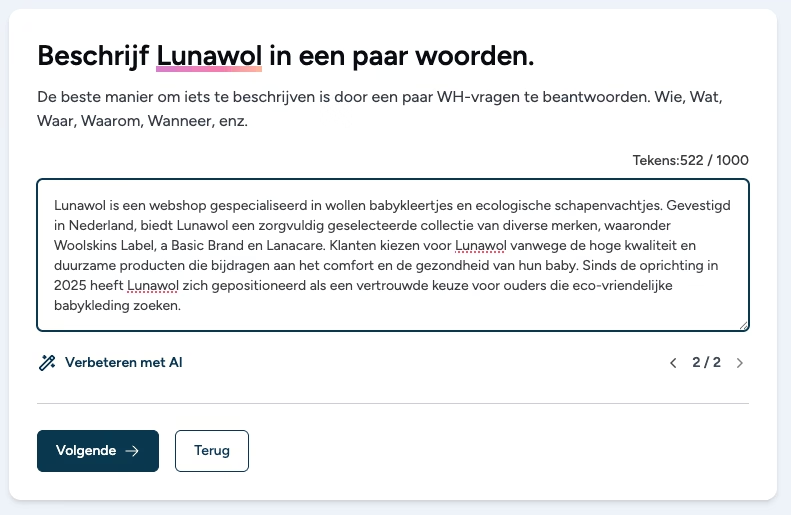
Which I then transformed into a smooth narrative using the “Improve with AI” function:
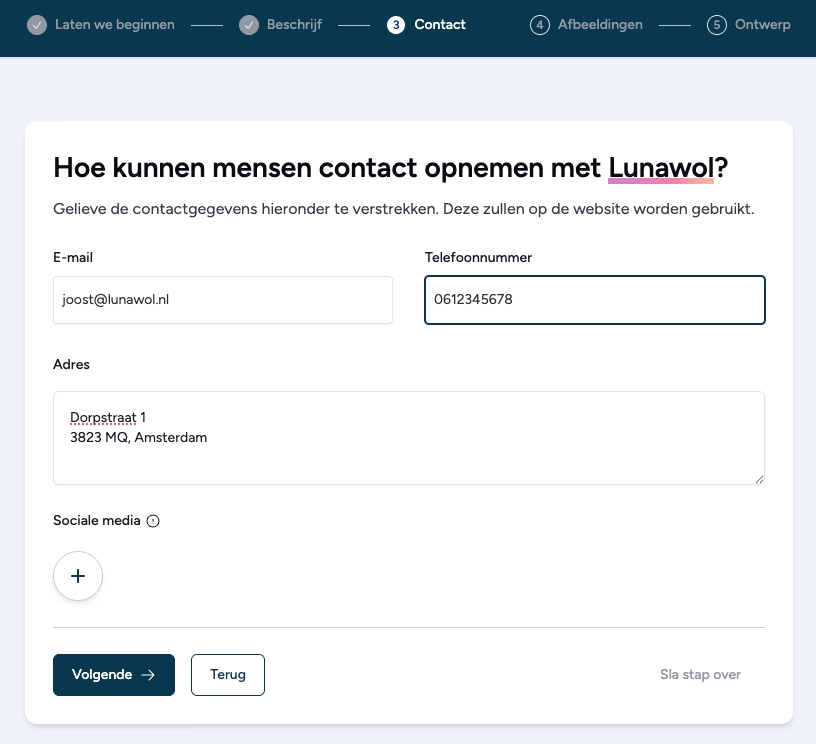
Next, you are asked to fill in your contact details.
Then you may choose several images to brighten up your webshop (you can, of course, change these later). You can upload these images yourself, or choose preselected images from a stock photo site.

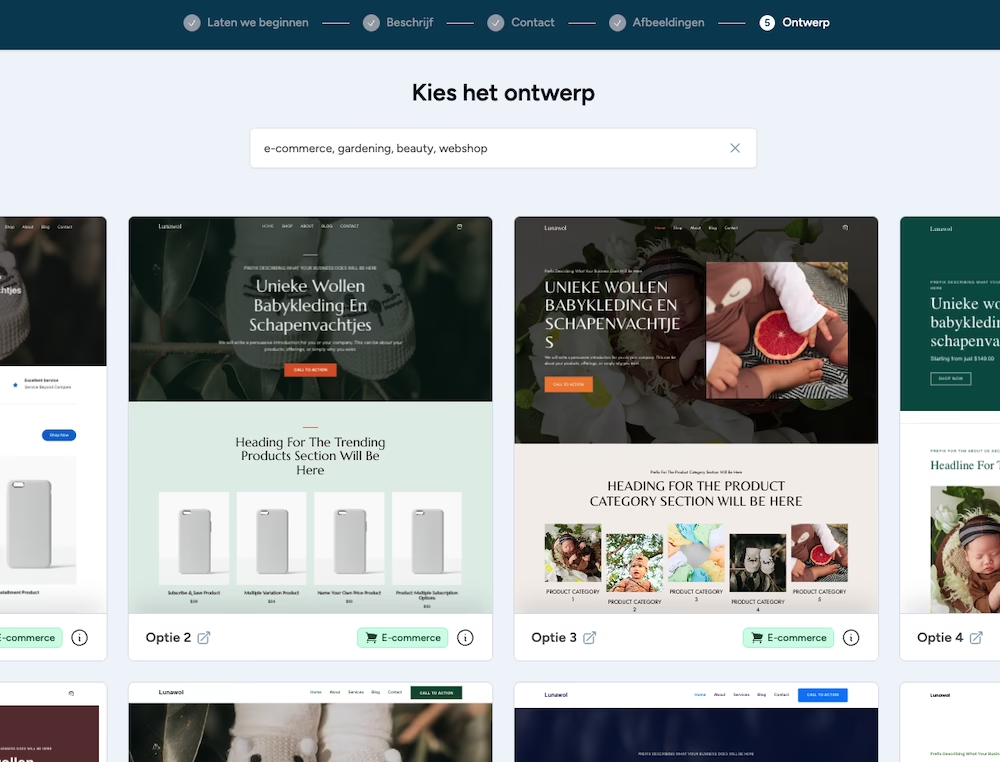
Afterwards, several example designs are generated for you. Look at them carefully, and then choose the style that best suits your brand and needs.
(Note: the copywriting in these examples is not yet complete. The aim here is to find a style that appeals to you. The final copy will be generated later.)
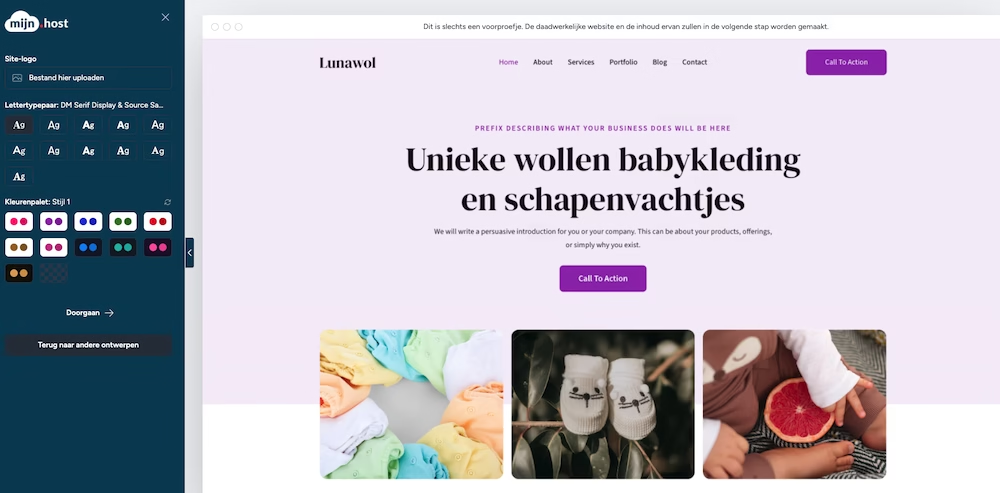
For my webshop, I eventually chose the design below. You can already upload a logo here, choose your desired fonts, and select a color palette that fits well with your brand. Once you have done this, click on Continue.
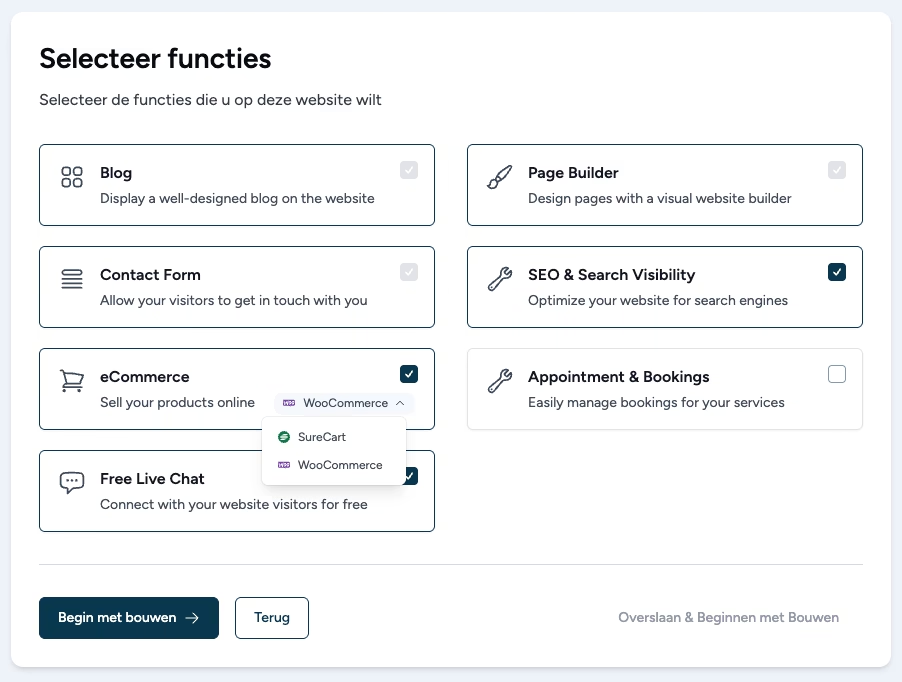
Then you can choose the features you want to select for your webshop.
By default, the following features are already filled in:
- Blog
- Contact form
- Page builder
Since we want a webshop, we must of course check the eCommerce functionality. This is automatically set to SureCart, but you can also choose WooCommerce. Here are the differences between the two.
SureCart is modern and cloud-based: many processes run on their own servers, which ensures speed and less technical maintenance. WooCommerce, on the other hand, runs entirely on your own website and gives you maximum control, but requires more technical knowledge and maintenance.
SureCart offers many standard features such as subscriptions, VAT calculation, invoices, and integrations with Stripe, Mollie, and PayPal. With WooCommerce, you need separate plugins for many of these functions. Think of WooCommerce Subscriptions for recurring payments, or extra plugins for European VAT regulations.
In terms of costs, SureCart is free at the base, with paid extensions starting at around €199 per year. WooCommerce itself is free, but costs increase as you need more plugins.
In short: SureCart is ideal for those who want to start selling online quickly and easily, especially digital products or subscriptions. WooCommerce is better suited if you need customization or want to set up a larger webshop with full control over every detail.
Since I want to set up a (fictional) webshop in which I will eventually have to sell dozens or even hundreds, of physical products, I opt for the more complex WooCommerce.
Furthermore, I also want live chat and SEO functionality.
After you have clicked on Start building, it is a matter of waiting a few minutes.

And… A beautiful foundation for the webshop is there!

Looking under the hood of this AI-built webshop
When we look at what exactly lies under the hood of this AI-built webshop, we see the following:
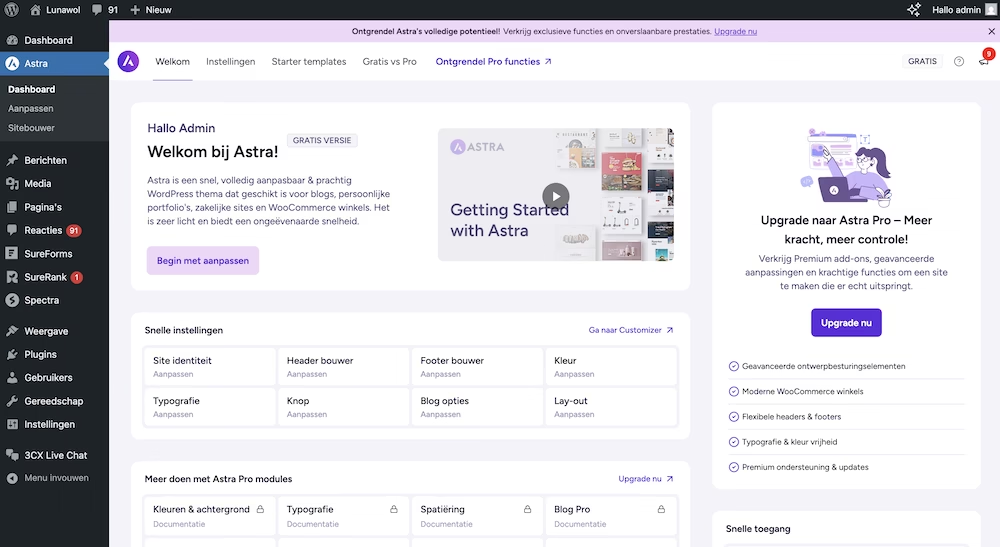
We see that the site runs on the WordPress theme Astra (one of the most popular, versatile, and fast WordPress themes in the world), uses Spectra (to build beautiful, complex page layouts) that SureRank for SEO is installed, and that 3CSX Live Chat is used for live chat functionality.
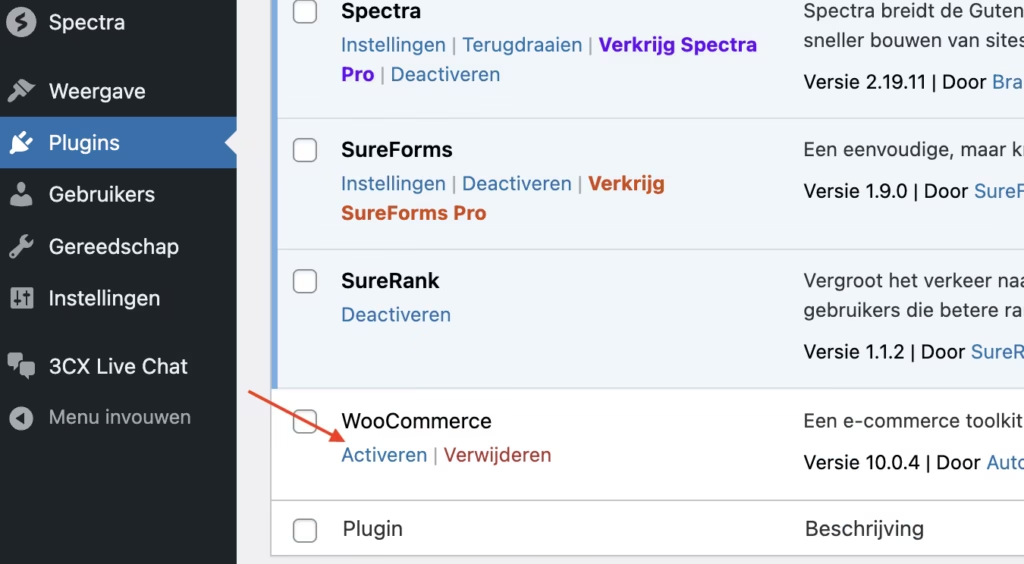
One thing that still needs to be done is activating WooCommerce.
To do this, go to the plugins section and click on Activate at the WooCommerce plugin.
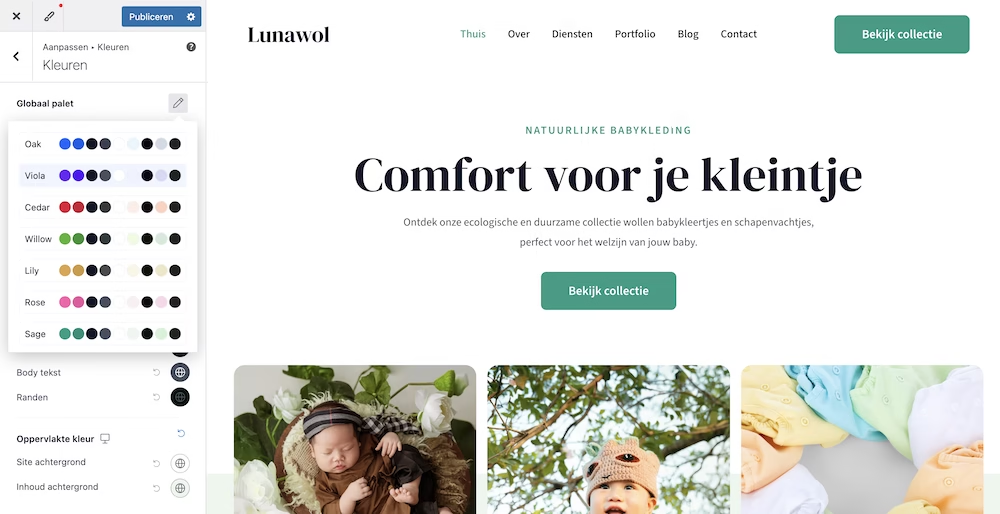
If you want to make changes across the entire site, such as adjusting the color palette of your site or changing the font, you can do so within the WordPress Customizer.
Adjusting the webshop, adding products, and more
Adjusting design, text, and images
What is super nice about this AI-built webshop is that it is super easy to customize.
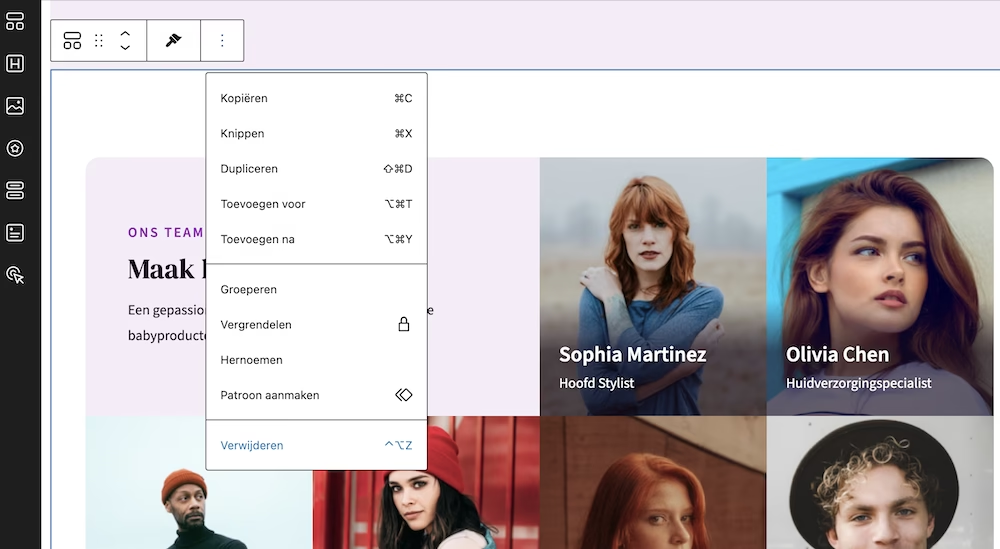
Let’s take the homepage, for example. Here you can easily change images, adjust text, or even delete entire sections with one click.
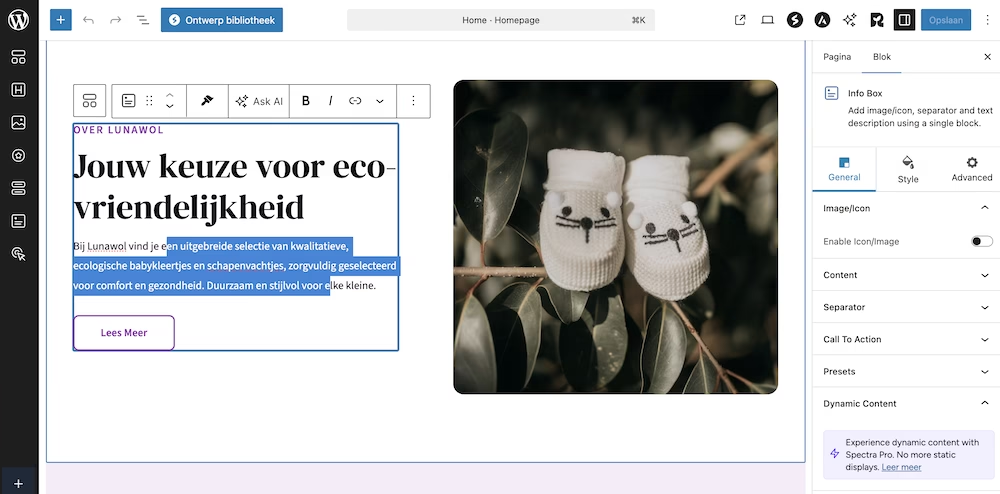
For example, I don’t think the team section fits well on the homepage of a webshop. So I remove it.
Filling the webshop
Adding products to the webshop is also very easy.
Under the WooCommerce header, click on Add New Product.
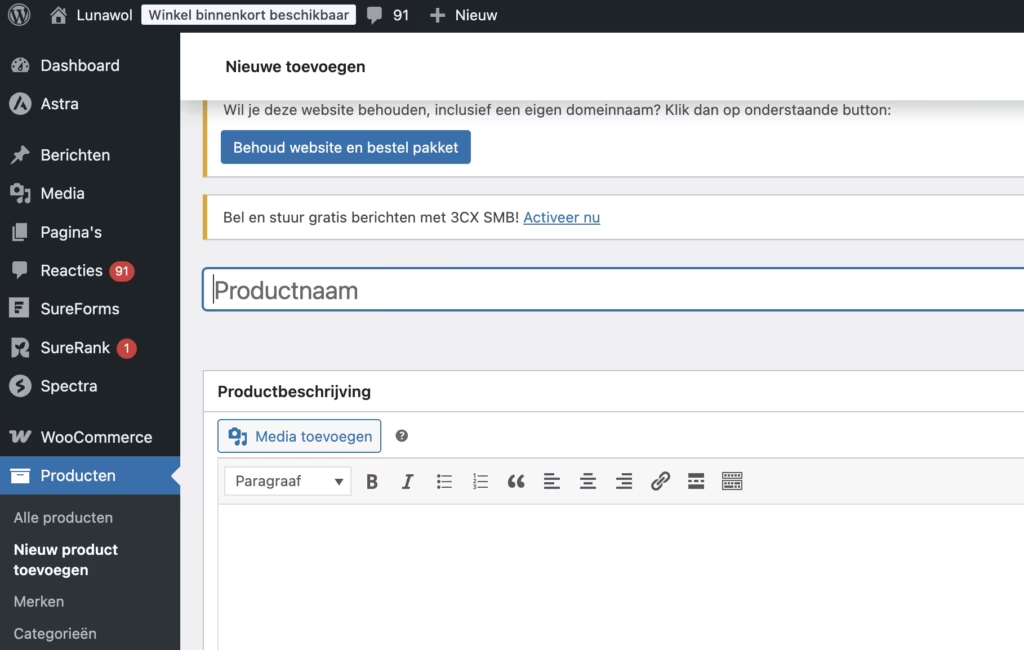
Then provide all the necessary information, click publish, and voilà: a product is automatically added to your webshop.
For more ins & outs about setting up and managing a WooCommerce store, keep an eye on the my.host blog, because sometime in the coming weeks we’re going to publish an extensive WooCommerce guide.
Getting started with the my.host AI website builder
The good news is that you can start using the my.host AI website builder for free. You can try the tool for free for two weeks.
After that, you can choose from one of the following packages:
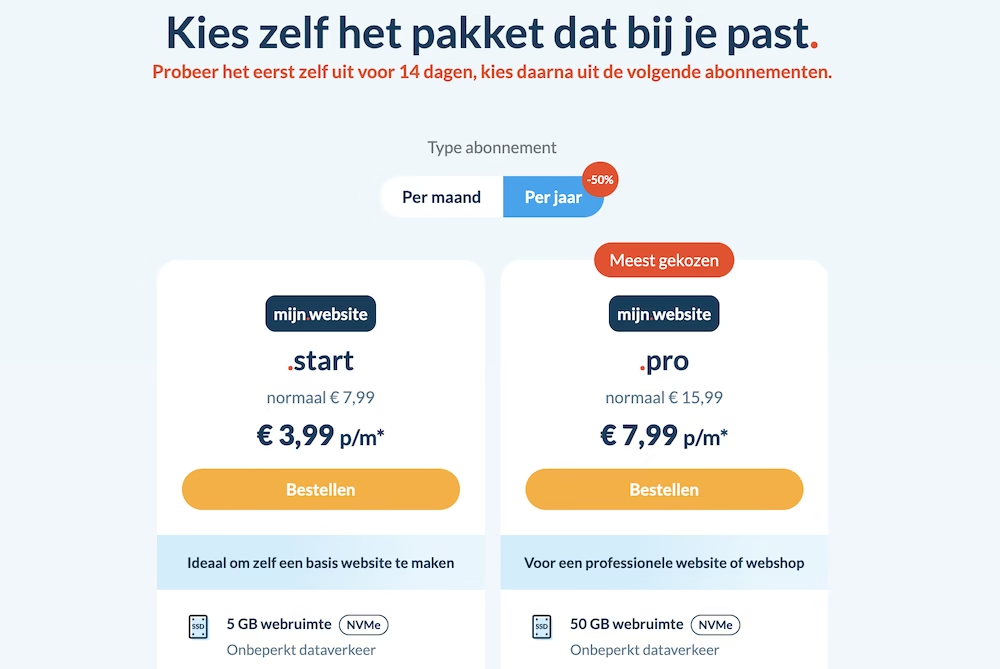
And if your website or webshop outgrows these packages at some point? Don’t worry. You can also turn to my.host for VPS hosting, dedicated hosting, and recently also cloud hosting.



Leave a Reply